27 Dec
Plesk is a web hosting control panel that allows you to manage your web hosting environment, including websites, domains, email accounts, and more. In this tutorial, we’ll show you how to install Plesk on CentOS 8.
Before starting, make sure that you have a fresh installation of CentOS 8, with the latest updates and patches applied. You will also need a valid Plesk license key.
Step 1: Install the Plesk repository
To install Plesk on CentOS 8, you first need to add the Plesk repository to your system. To do this, create a new file called plesk.repo in the /etc/yum.repos.d/ directory with the following contents:
[plesk]
name=Plesk Repository
baseurl=http://autoinstall.plesk.com/PSA_18.0.30/dist-rpm-CentOS-8-x86_64/
gpgcheck=1
enabled=1
gpgkey=http://autoinstall.plesk.com/PSA_18.0.30/dist-rpm-CentOS-8-x86_64/repodata/repomd.xml.key
Replace PSA_18.0.30 with the version of Plesk that you want to install. You can find the latest version number on the Plesk download page (https://www.plesk.com/download/).
Step 2: Install Plesk
Next, update the package database and install Plesk using the yum package manager:
sudo yum update
sudo yum install plesk-installer
During the installation process, you will be asked to enter your Plesk license key. Make sure to enter a valid key, or the installation will fail.
Step 3: Configure firewall rules
Plesk uses several ports for its various services, such as HTTP (port 80), HTTPS (port 443), and FTP (port 21). To allow access to these services, you need to configure your firewall to allow incoming traffic on these ports.
To do this, use the firewall-cmd command to add the necessary rules:
sudo firewall-cmd –permanent –add-service=http
sudo firewall-cmd –permanent –add-service=https
sudo firewall-cmd –permanent –add-service=ftp
sudo firewall-cmd –reload
Step 4: Access the Plesk control panel
After the installation is complete, you can access the Plesk control panel by opening a web browser and going to https://your-server-ip:8443. Replace your-server-ip with the IP address or hostname of your server.
You will be prompted to enter a username and password to log in. The default username is admin, and the default password is the one that you set during the installation process.
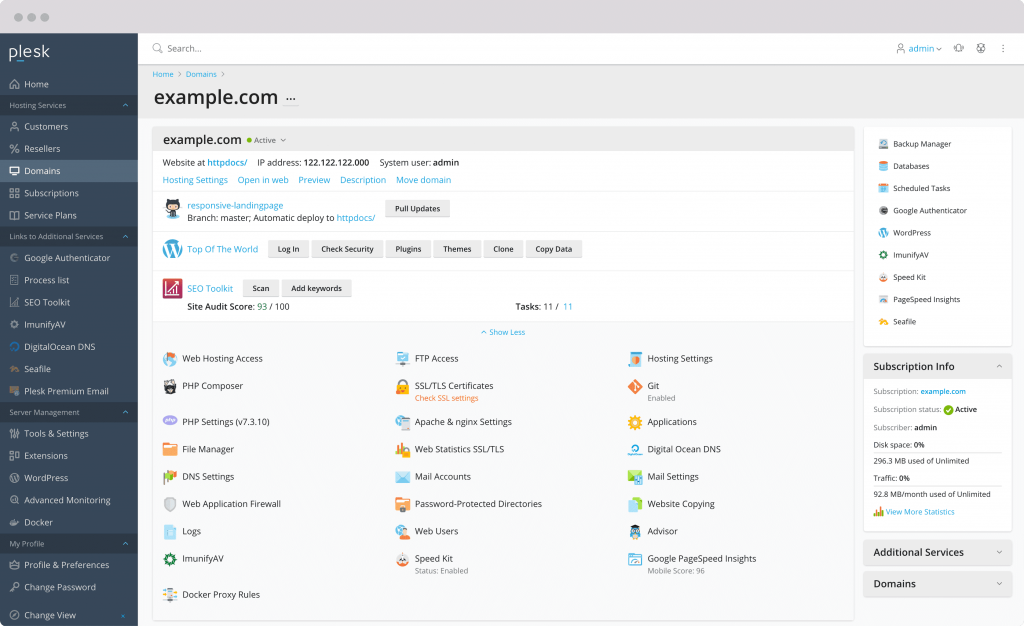
Once you are logged in, you can start using Plesk to manage your web hosting environment.
That’s it! You should now have Plesk installed and configured on your CentOS 8 server. If you have any questions or run into any issues during the installation process, don’t hesitate to ask for help.


Recent Posts


Recent Comments